
Cold water can feel shocking, but the right temperature turns that shock into a boost. The sweet spot isn’t an ice‑cold plunge that leaves you shivering, it’s a range that sparks recovery, focus, and mood without risking hypothermia. In this guide you’ll learn how to pick the best temperature for your goals, measure it accurately, tweak your tub’s controls, and keep every session safe and trackable.
Step 1: Determine Your Goal and Ideal Temperature Range
Before you touch the water, ask yourself what you hope to get out of the plunge. Your answer will point you to a temperature band that balances challenge and comfort. Beginners who want a gentle mood lift usually stay near the higher end of the range, while athletes chasing fast muscle recovery dip lower.
Here’s a quick grid that matches common goals with the temperature most users find effective. The numbers reflect the median 55°F sweet spot highlighted in recent surveys, plus the ranges many experts suggest.
When you first start, pick the top of the band that matches your goal. If you aim for a mood lift, try 60°F for two minutes. If you’re an experienced athlete, you might set 52°F and stay three minutes. Adjust down slowly as your tolerance builds.
Experts note that the median recommendation across dozens of protocols sits at 55°F, with most people finding 2, 3 minutes enough for a full cold‑shock response. That figure comes from a synthesis of over 25 web‑based guides, which found the average soak time to be about 2.6 minutes. Fire Cold Plunge explains why the 55°F range works for most users
If you prefer a more data‑driven view, the Coldture blog breaks down how blood vessels constrict and how that improves circulation at 50‑60°F. Read the Coldture temperature guide
For a usable example, imagine you’re a weekend golfer in Palm Desert. Your goal is quicker recovery after a long round. Starting at 58°F for three minutes, then dropping two degrees each week, will let you keep the benefit without a sudden shock. Over a month you’ll likely land near 52°F, which aligns with the “intermediate” band for athletes.
In the next step we’ll see how to verify the water’s actual temperature, so you know you’re hitting the target you just set.
Step 2: Measure the Current Temperature Accurately
Knowing the exact temperature matters because a few degrees can change how your body reacts. Most people rely on a cheap digital probe, but even cheap probes can drift if they’re not calibrated.
Here’s a step‑by‑step routine you can follow each time you prep your tub:
- Turn on the probe and let it sit in room‑temperature water for at least 30 seconds. This resets the sensor.
- Dip the probe about two inches below the surface, avoiding the walls where the water may be cooler.
- Wait for the reading to stabilize (usually 5‑10 seconds). Record the number.
- If the reading is off by more than 2°F from your set point, adjust the chiller or add ice.
For larger tubs, take three readings, one near the inlet, one near the outlet, and one in the middle. If the spread exceeds 3°F, the circulation pump may need a check.
Many modern chillers come with built‑in thermometers that display the water temp on a digital panel. Those panels are handy, but they can lag when the ambient room temperature shifts dramatically. A handheld probe gives you a real‑time check.
When you’re in a shared or public setting, you may also want to log the temperature for each session. A simple spreadsheet with columns for date, time, temperature, and duration can help you spot trends and avoid drift over weeks.
And remember, the water feels colder in winter air than in summer sun. If you plunge outdoors, factor in the ambient air temperature when you record your reading.
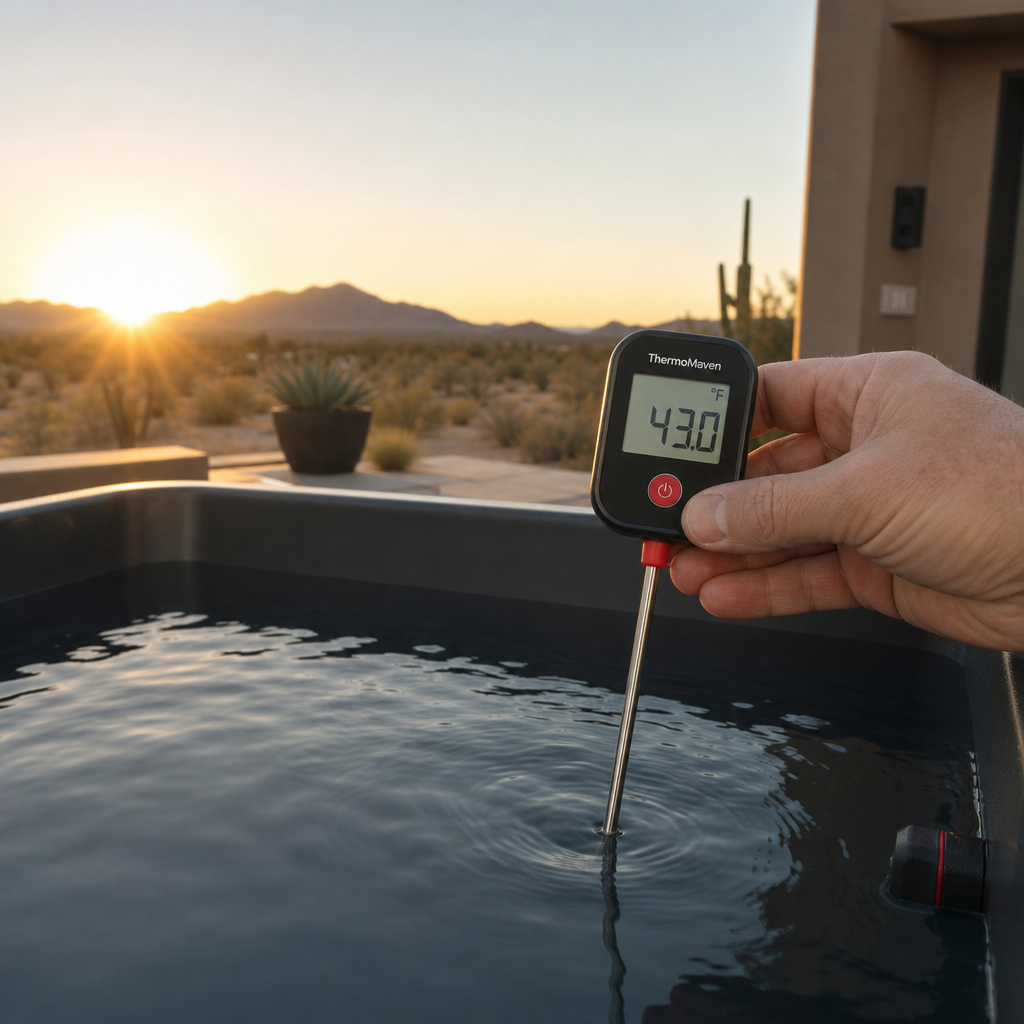
Once you have a reliable temperature reading, you can move on to the next step: setting the tub’s controls to hit that target.
Step 3: Adjust the Temperature Using Your Plunge’s Controls
Most modern cold plunge units have a digital thermostat that lets you set a target temperature. The unit then cycles the chiller on and off to keep the water steady.
Follow these actions to dial in your desired temperature:
- Power on the tub and let the water circulate for a few minutes.
- Use the control panel to enter the target temperature you chose in Step 1.
- Watch the display; it will show “cooling” until the set point is reached.
- When the display reads “steady,” the water is at the right temp.
- If the water never reaches the target, check the chiller’s BTU rating against your tub volume.
In hot desert climates like Coachella Valley, a larger chiller may be needed to pull the water down to 50°F on a 115°F day. The key is to match the chiller’s capacity to the volume of water you’re cooling.
Below is a short video that walks through a typical control‑panel setup on a popular commercial unit. It shows the exact button presses you’ll need.
After you set the temperature, let the system run for at least ten minutes before your first plunge. This gives the chiller time to stabilize the water.
Should you notice uneven temperature across the tub, check the pump’s flow rate. A sluggish pump can create hot spots near the inlet. Adding a small external circulation pump can even out the water without buying a new chiller.
Now that the water is set, you’re ready to enjoy the plunge safely.
Step 4: Maintain Safety and Track Your Sessions
Cold exposure is a powerful stressor, so safety rules are a must. Here are the core practices to keep every session healthy.
- Start small.Begin with 30‑90 seconds at the higher end of your temperature range. Add 15 seconds each session until you reach your target duration.
- Breathe.Use box breathing (4‑4‑4‑4) before you step in. Controlled breathing lowers the shock response.
- Watch your body.If you feel intense shivering, numbness, or dizziness, exit immediately.
- Warm up afterwards.A warm shower or heated blanket helps your core temperature return gradually.
The City of San Francisco’s public‑health office notes that a cold plunge is defined as a single‑occupant tub below 59°F and should meet the California Pool Code for safety. Their guidelines stress proper filtration and regular water testing to prevent bacterial growth. San Francisco public‑health best practices
Scientific research supports these safety steps. A 2022 review of 104 cold‑water immersion studies found that controlled exposure reduces inflammation and can improve insulin sensitivity, but only when the duration and temperature stay within modest limits. National Institute of Health review on cold‑water immersion
To track progress, keep a simple log. Record the date, time, temperature, and how long you stayed in. Over weeks you’ll see patterns, maybe you handle 55°F for five minutes after a month of practice. That data helps you stay safe and see real benefits.
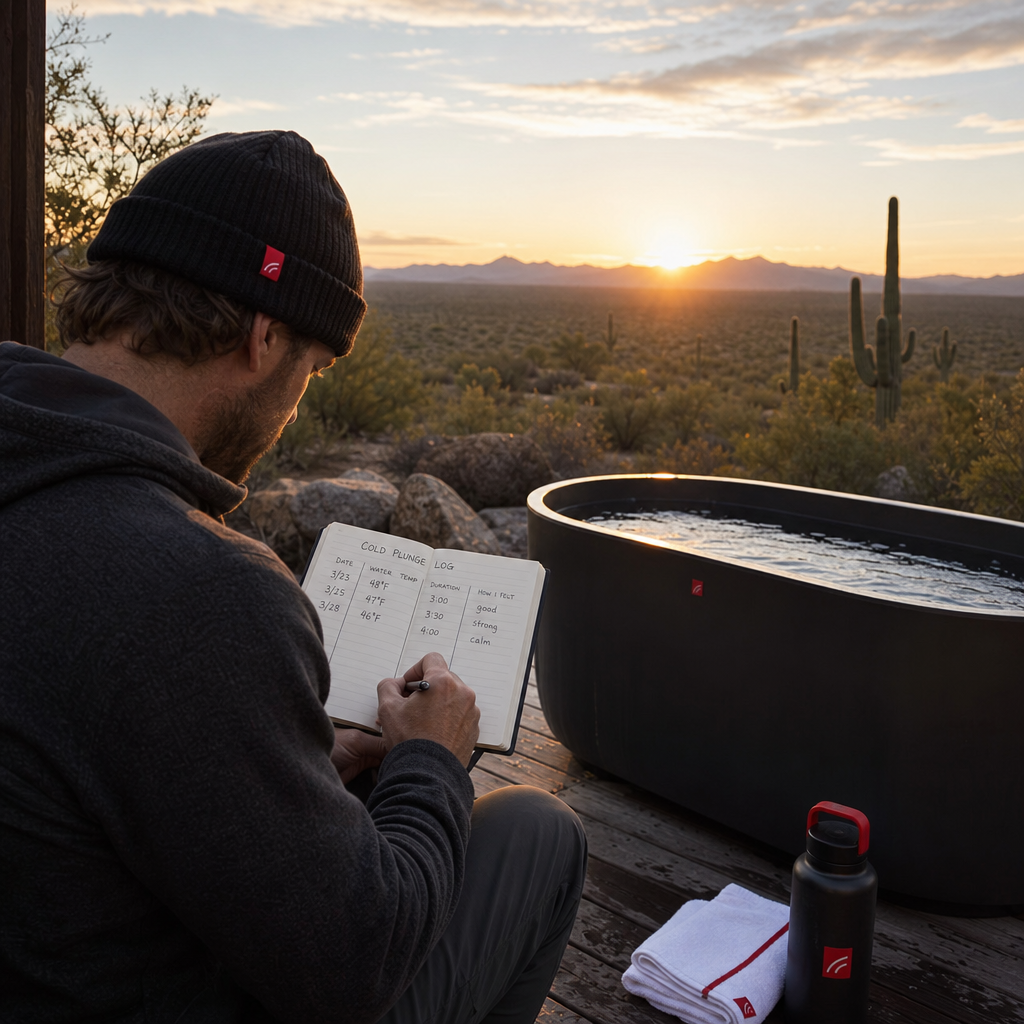
Finally, consider a quick visual cue: place a waterproof sticker on the tub rim that reminds you of your target time. When you see it, you’ll know it’s time to step out.
FAQ
What is the ideal cold plunge temperature for beginners?
Most beginners start at 60°F (15.5°C) and stay for 1, 2 minutes. This range offers enough cold‑shock to boost circulation without overwhelming the nervous system. After a week or two, you can lower the temperature by 2‑3°F and extend the soak by 15 seconds each session.
How long should I stay in the cold water?
Research shows the median recommended soak is about 2.6 minutes. For most people, 2, 3 minutes at the target temperature delivers the full suite of benefits, reduced inflammation, mood lift, and modest metabolic activation. If you’re more experienced, you can work up to 5 minutes, but longer stays rarely add extra benefit and may increase risk.
Can I use a regular thermometer instead of a digital probe?
A mercury or alcohol thermometer can work, but it’s slower to respond and harder to read in low‑light conditions. Digital probes give you a readout in seconds and can be calibrated easily, which is why most experts recommend them for accurate tracking.
Is it safe to plunge after a big meal?
It’s best to wait two hours after a large meal. Cold water draws blood to the core, which can interfere with digestion and cause discomfort. A lighter snack an hour before a session is fine, but give your stomach time to settle.
Do I need to add chemicals to keep the water clean?
If you have a filtration system, you can maintain clear water with low‑level sanitizers like bromine or UV light. For occasional home use, draining and refilling the tub every week works well, especially in desert water that can be mineral‑rich.
Where can I learn more about contrast therapy with a sauna?
on cold plunge before or after sauna for tips on pairing heat and cold for optimal recovery.
Conclusion
Setting the right cold plunge temperature is a blend of science, personal goals, and gradual adaptation. Start by defining what you want, whether it’s a mood boost, faster muscle recovery, or metabolic fire. Use a reliable thermometer, set your tub’s thermostat, and follow safety habits like controlled breathing and post‑plunge warming. Track each session so you can see progress and stay within safe limits.
When you keep the process consistent, the cold‑shock response becomes a regular part of your wellness routine, delivering clearer focus, reduced soreness, and a subtle boost to metabolism. Ready to fine‑tune your own plunge? Explore more about how cold and heat work together in our contrast‑therapy guide linked above.